

Welcome back! Today is the third day of Breakfast Week at the Castle Farm Cookbook. Today we are making the most complicated recipe of the week, Brown Sugar Raisin Bread! This one definitely takes some time, but a lot of the time is just sitting around while the yeast does the real work. Don't let the yeast and number of ingredients scare you away - we promise it's not that bad! Plus, when you are done you will have 2 loaves of homemade raisin bread. We found this recipe at Williams-Sonoma's website.
ingredients
1 Tbsp active dry yeast
3 Tbsp sugar + a pinch
1 1/4 c warm water
1 c warm milk
3 Tbsp unsalted butter, melted
1 Tbsp salt
1 egg, lightly beaten
6 - 6 1/4 c bread flour*
Cornelius' tip: You might need more. You can use regular flour but be sure to sift it before measuring, and you might need to adjust the amount - bread flour is finer.
3/4 c golden raisins
3/4 c regular raisins
for the filling:
2/3 c firmly packed light brown sugar
4 1/2 tsp ground cinnamon
instructions
1. Prep the yeast. Dissolve a pinch of sugar in 1/2 c of the water. Stir in the yeast. Cover and let stand 10-15 minutes, until foamy.

Cornelius's tips for yeast newbies: Working with yeast is not scary! (Working with cows can be...) Just make sure the yeast is fresh (i.e. if its been sitting in your pantry for 2 years since your last attempt at bread, it is not fresh!) Yeast is alive - it's a fungus - and like all living things, it needs food (sugar), water (warm), and a nice environment (dark). So, yeast recipes always start with warm water, then stir in sugar, then stir in yeast, and cover with a towel. There's some more to it, but that's really all you need to know.
2. In an electric mixer, using the beater attachment, combine the remaining 3/4 c water, milk, butter, sugar, salt, egg, and 2 c of the flour. Beat on medium until creamy, about a minute.


3. Add the yeast mixture and 1/2 c of flour and beat another minute.

4. Add the raisins. The add in the remaining 1 1/2 c of flour, 1/2 a c at a time, until the dough just pulls away from the side of the bowl.

5. Switch to the dough hook attachment. Knead on medium-low, adding flour 1 Tbsp at a time if the dough sticks, until smooth and elastic, about 4 minutes.

Cornelius' tip: We had to add a little more flour than the recipe called for. You want the dough to be just soft enough to not be annoyingly sticking to your paws when you shape and touch it.
6. Grease a bowl with oil. Put the dough in the bowl and turn around so that it is coated. Cover loosely with a towel or plastic wrap and let rise at room temperature until doubled in size, 1 to 1 1/2 hours.

Later...
7. Lightly grease two 9x5 loaf pans.

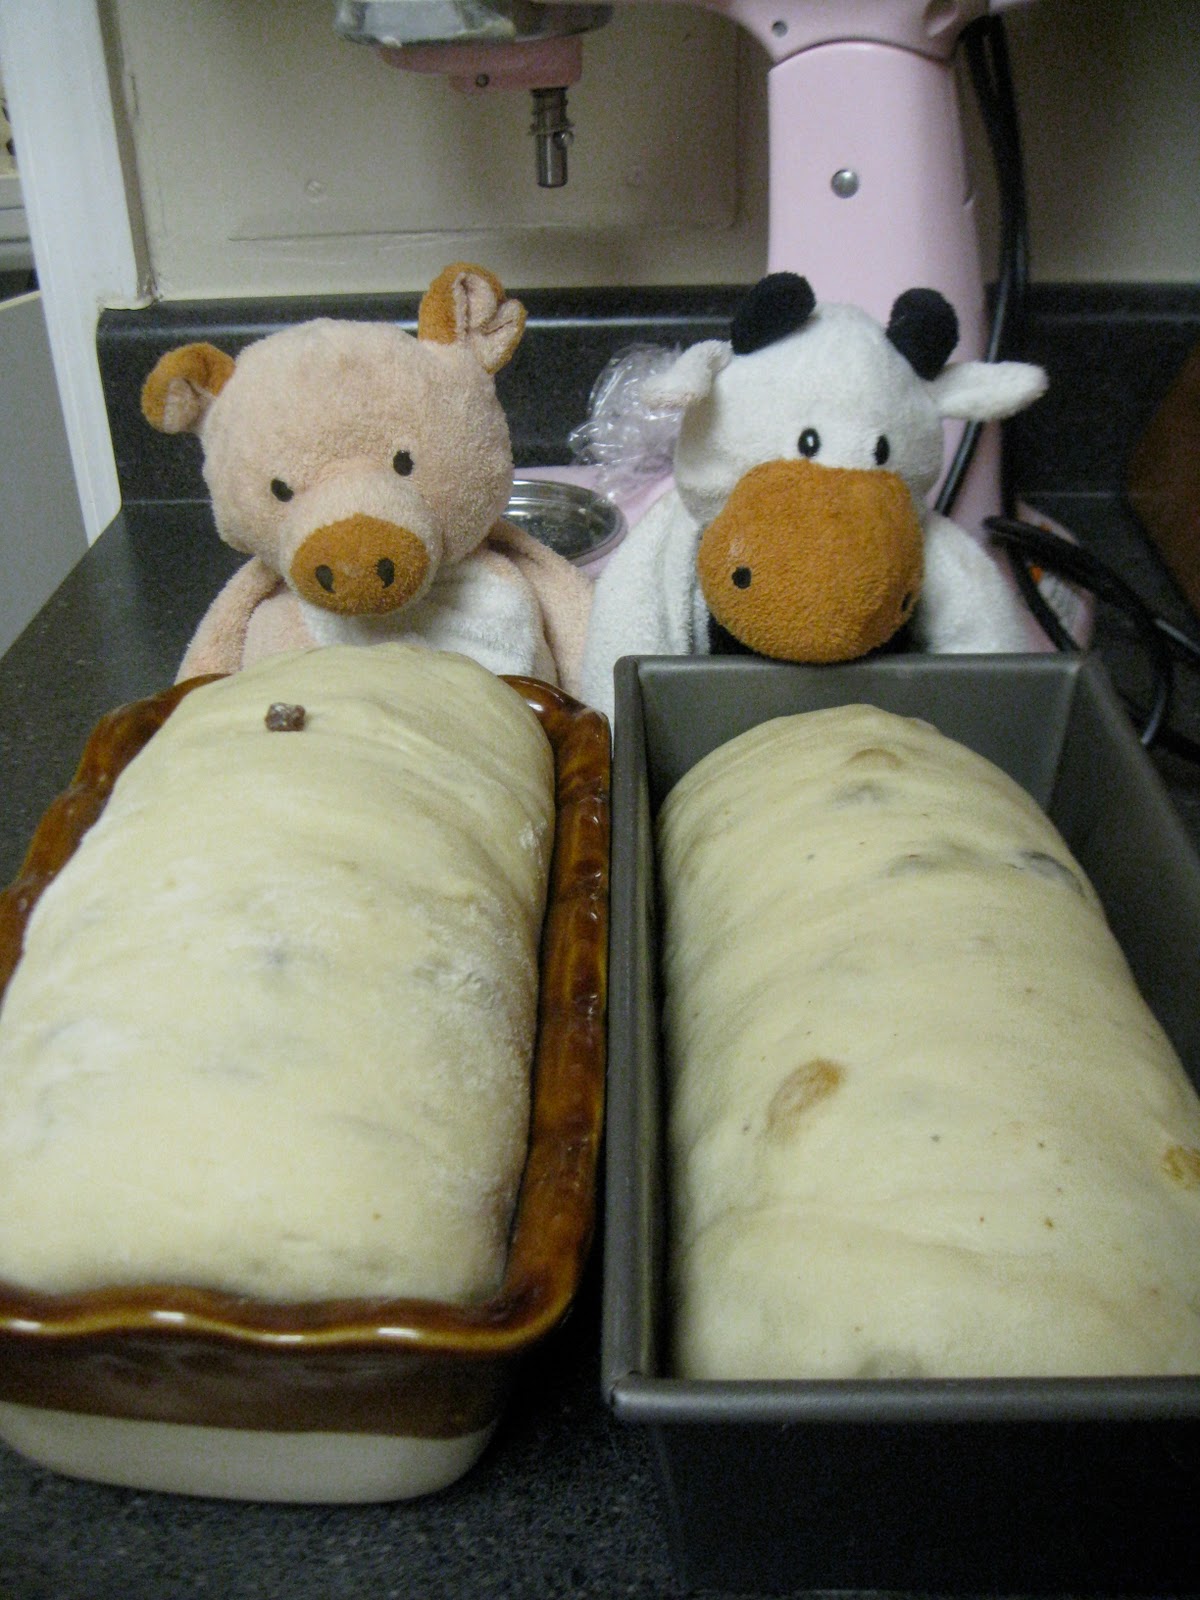
Cornelius' tip: We have an 8x5 and an 10x5 pan, so you can see how your bread will look in those!
8. Put the dough on a lightly floured surface.

Divide it in half and roll each half into an 8x12 rectangle.

9. Make the filling by combining the brown sugar and cinnamon.

Lightly sprinkle each rectangle with half of the filling, leaving a 1" border on all sides.

10. Beginning at a narrow end, tightly roll up each rectangle into a compact log. Pinch the ends and the long seam to seal in the filling.

11. Place each log, seam side down, in a prepared pan. Cover loosely with plastic wrap and let rise at room temperature until the dough is about 1" above the rim of the pans, about 1 to 1 1/2 hours.

Cornelius' tip: They will look different depending on the size of your pans....
Later...
12. Preheat your oven to 350. Bake until the loaves are golden brown and pull away from the sides of the pan, 35-40 minutes. Cool on wire racks.

Look how beautiful they are!

We were nervous at first because the first slices we cut did not have the lovely swirly design, but once we got into the bread it did.

We froze one loaf for a few weeks (wrapped in plastic wrap and then a produce bag) and it defrosted nicely. The other loaf we sliced and ate toasted with butter all week for breakfast.

So you see, even though this bread is a bit complicated, none of the steps along the way are that bad, and you end up with TWO WEEKS of delicious breakfast!

pig, out!

omg, this is my fav but i must play to find how to make it delish using wheat flour, a difficult thing to do thus far.
ReplyDelete